What Is The Process To Building A Concrete Pool?
Durable, customisable, and affordable, concrete pools are a superb addition to your home. Organising installation is pretty straightforward and you can rest assured that the team at Ballina Pools are with you every step of the way. To help you understand what’s involved, here’s our step-by-step guide to the process of building concrete pools.
1. Organise the paperwork
Once we’ve agreed on a design and all the contracts are signed, it’s time for us to get on with the paperwork. We’ll deliver the plans and drawings to the local council for approval, and we’ll also organise your watertight completion insurance with SPASA.
2. Get digging
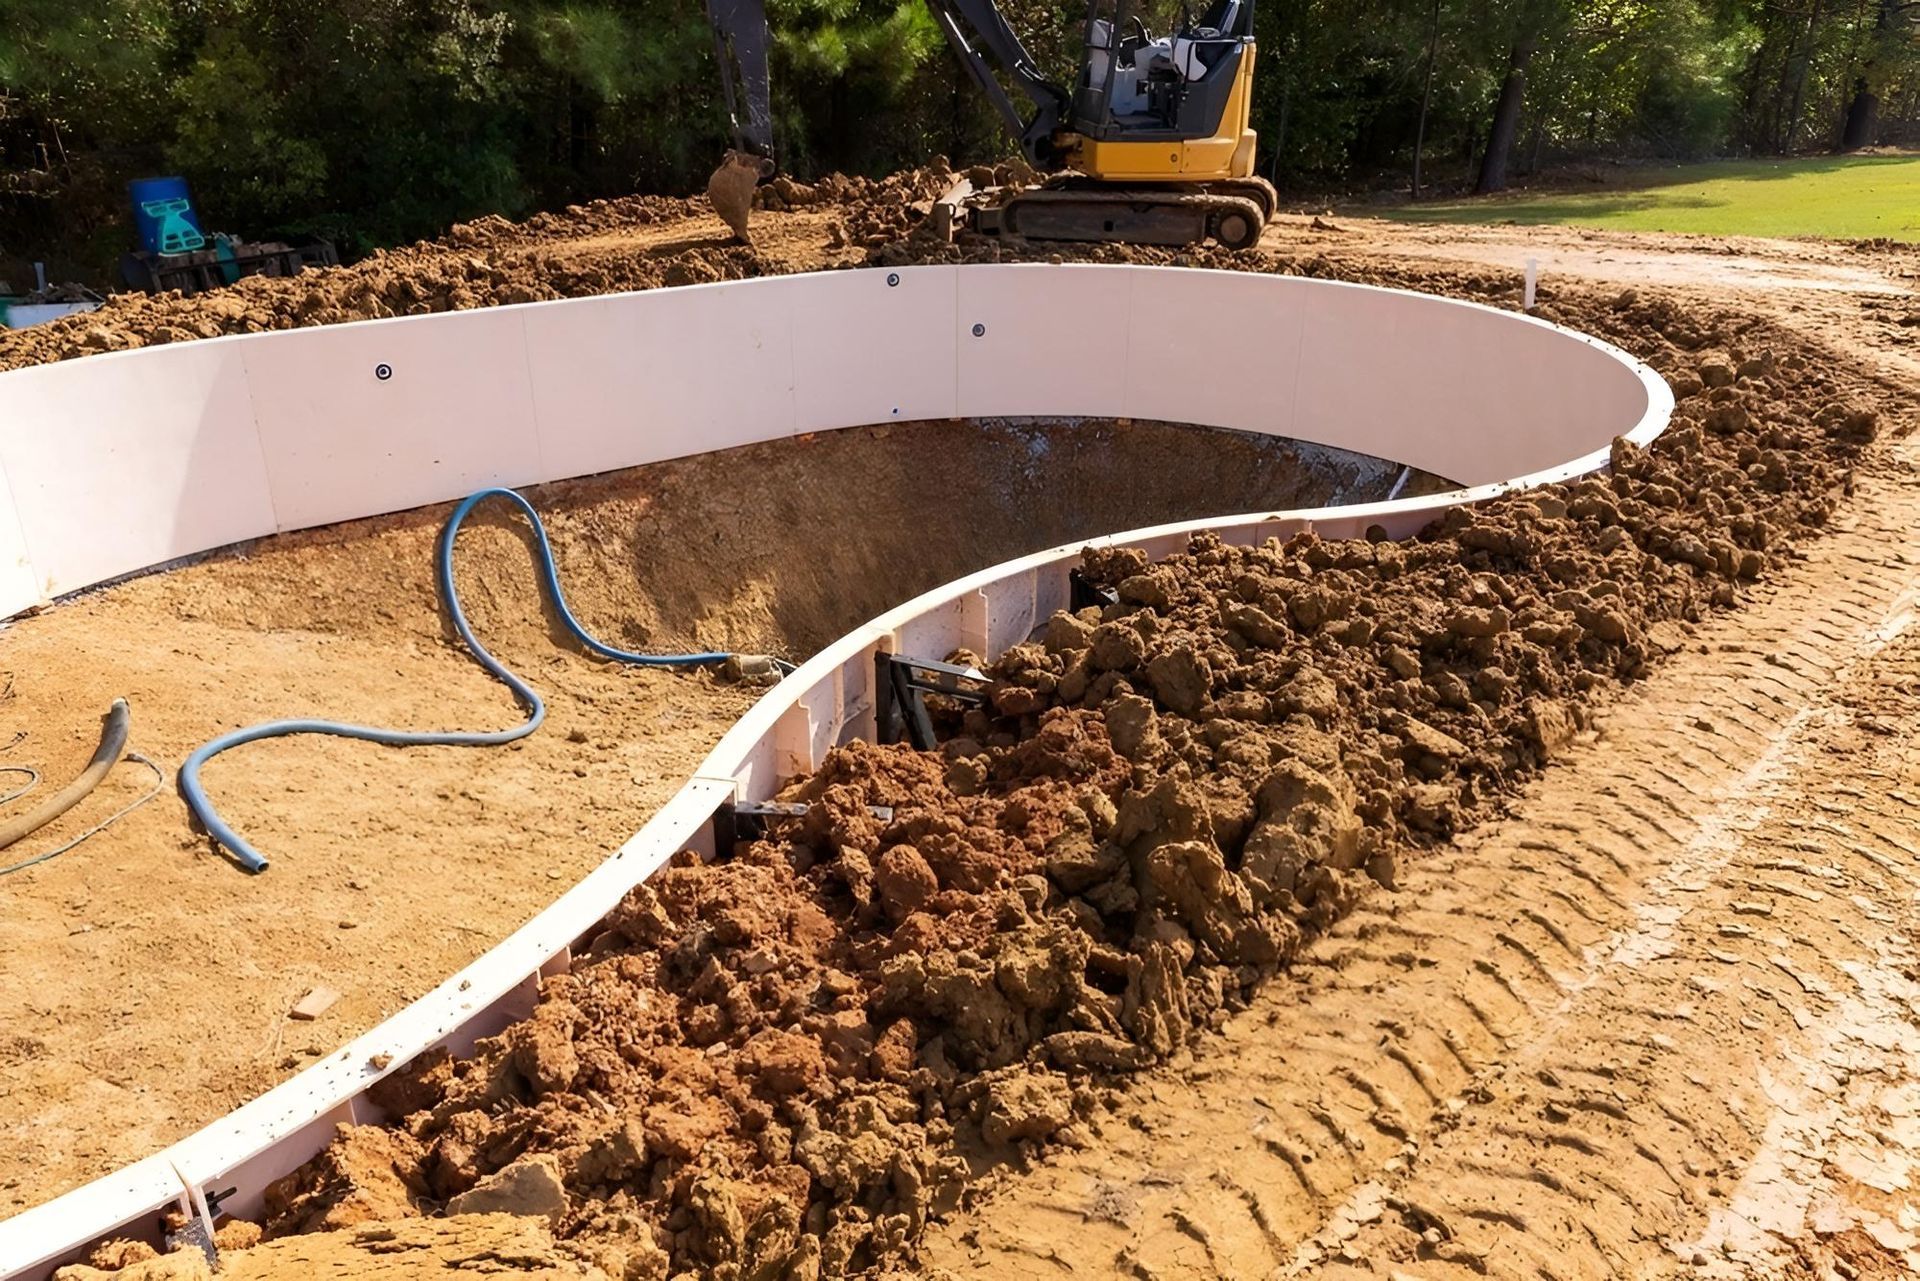
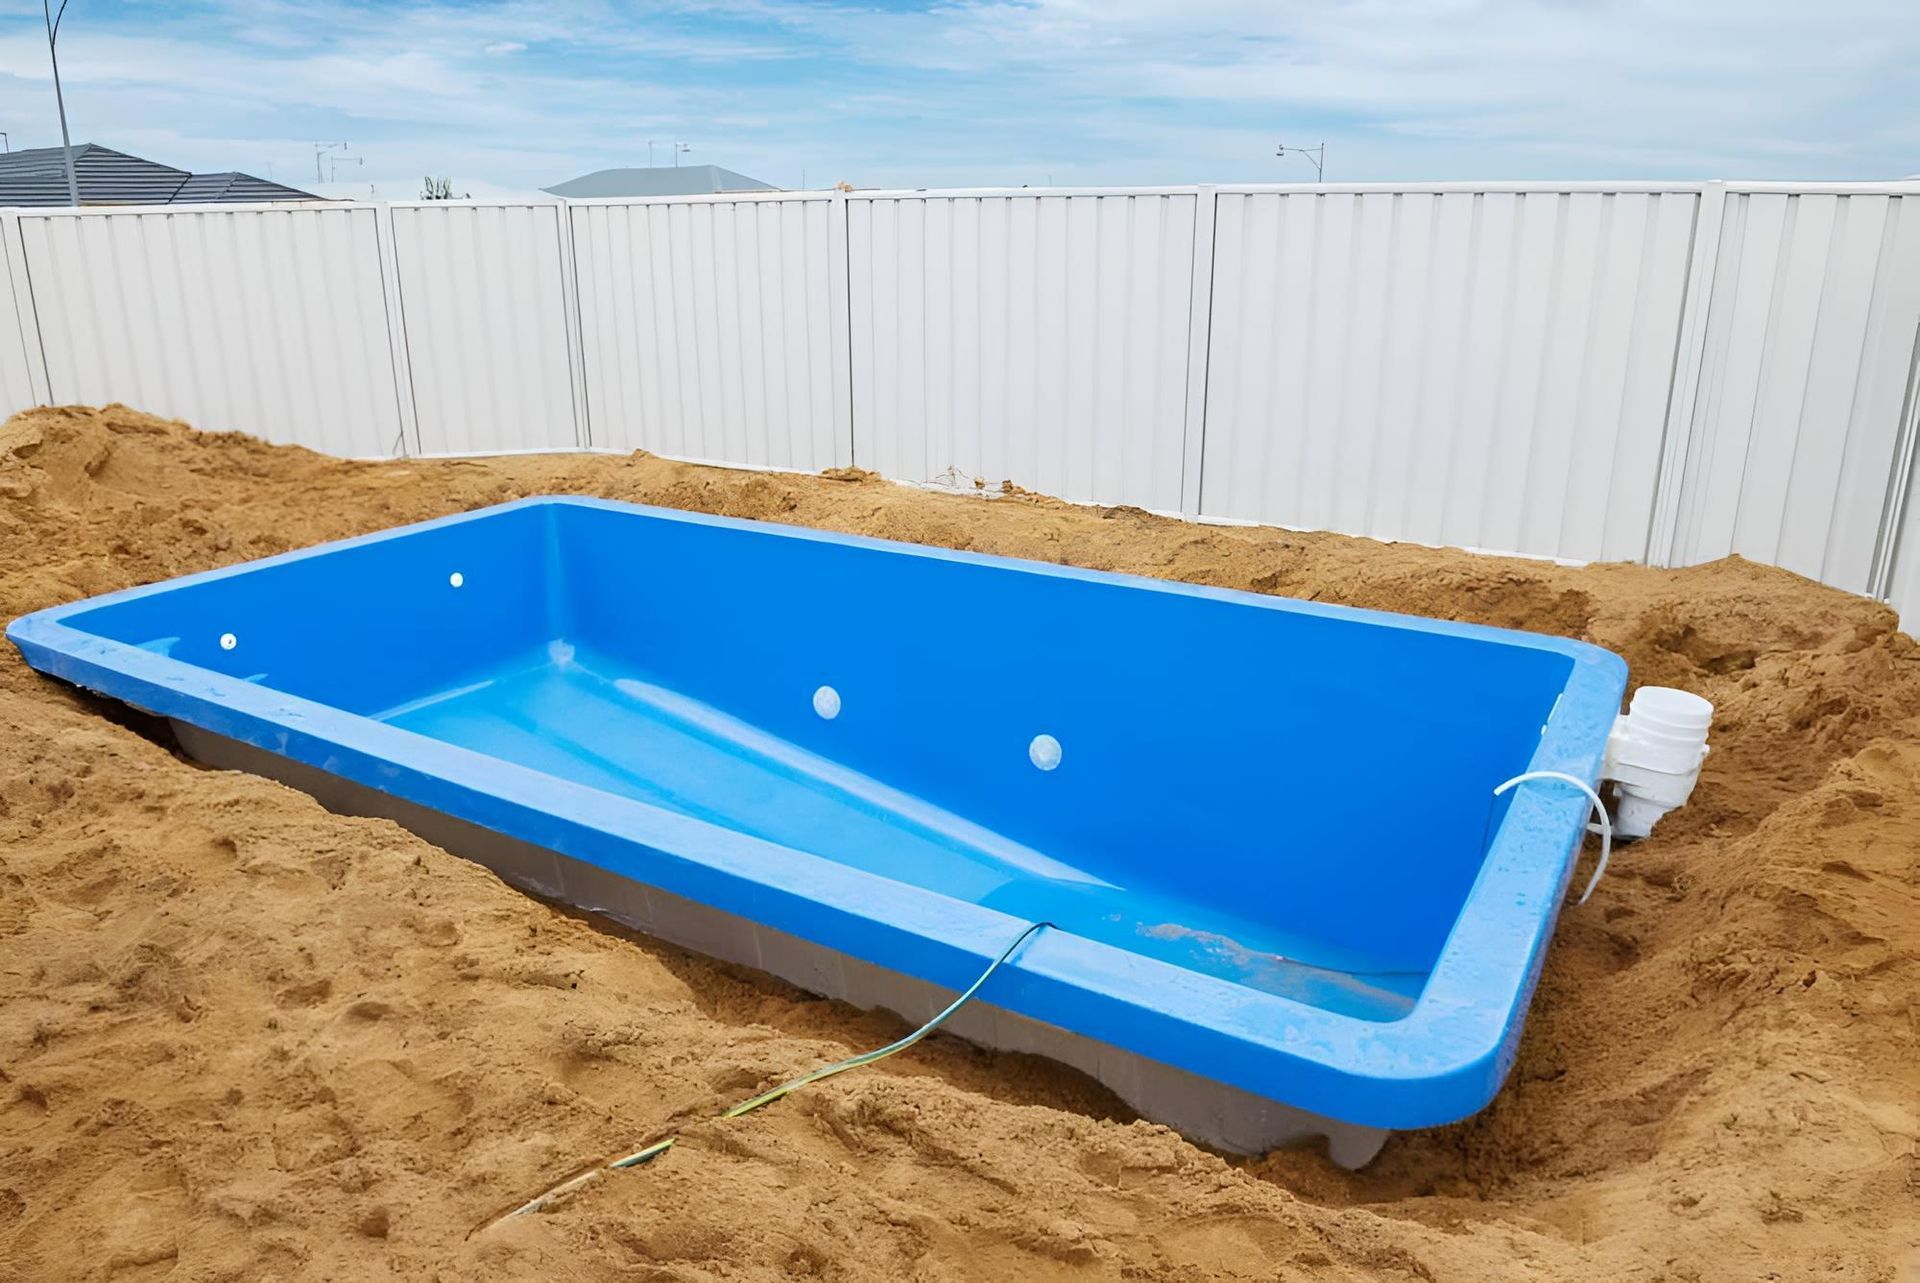
Once we have the go-ahead from the council, we’ll get started on the excavation. We’ll mark out the shape of the pool and use excavators and trucks to complete the work.
3. Steel fixings
After the excavation is complete, it’s time to get the steel fixing underway. This involves creating a crisscross cage around the interior, which forms a kind of framework for the concrete to be sprayed onto as well as showing where things like steps and benches will be placed.
4. Plumbing
After the steel fixing is complete, we will arrange for pre-plumbing work. This is when we’ll install pool returns, suction, solar provisions, spa fixings and water features, as well as any electrics you require.
5. Concreting
Concrete is sprayed onto the pool shell using an MPA gun. Once the wall is coated, our skilled pool builders use specially designed tools to shape the pool to your design. Once this is complete, we advise two weeks of curing time before moving on to the next stage.
6. External plumbing
At this stage, we’ll be installing your pump and filter. This will include all suction lines, return lines and blower lines, as well as connections for water features and heating. Our plumber will need you to have decided where you would like your pump and filter to go by this point.
7. Finishing touches
Next, we’ll install all the things that make your pool unique. Coping and landscaping stones will be laid, your chosen tiles will be put in place and any water features will be installed.
8. Fence installation and inspection
Before we install the pebble interior, we have to install your fence and organise an inspection. Once the inspection has been completed, we’ll move on to the next stage.
9. Pebbling
As we near the end of the build, it’s time to pebble the interior of your pool. The pebble is sprayed onto the concrete and is important to prevent leaks. We’ll let the pebble cure overnight, before carrying out an acid wash of the pebble and beginning to fill the pool.
10. Filling up and getting going
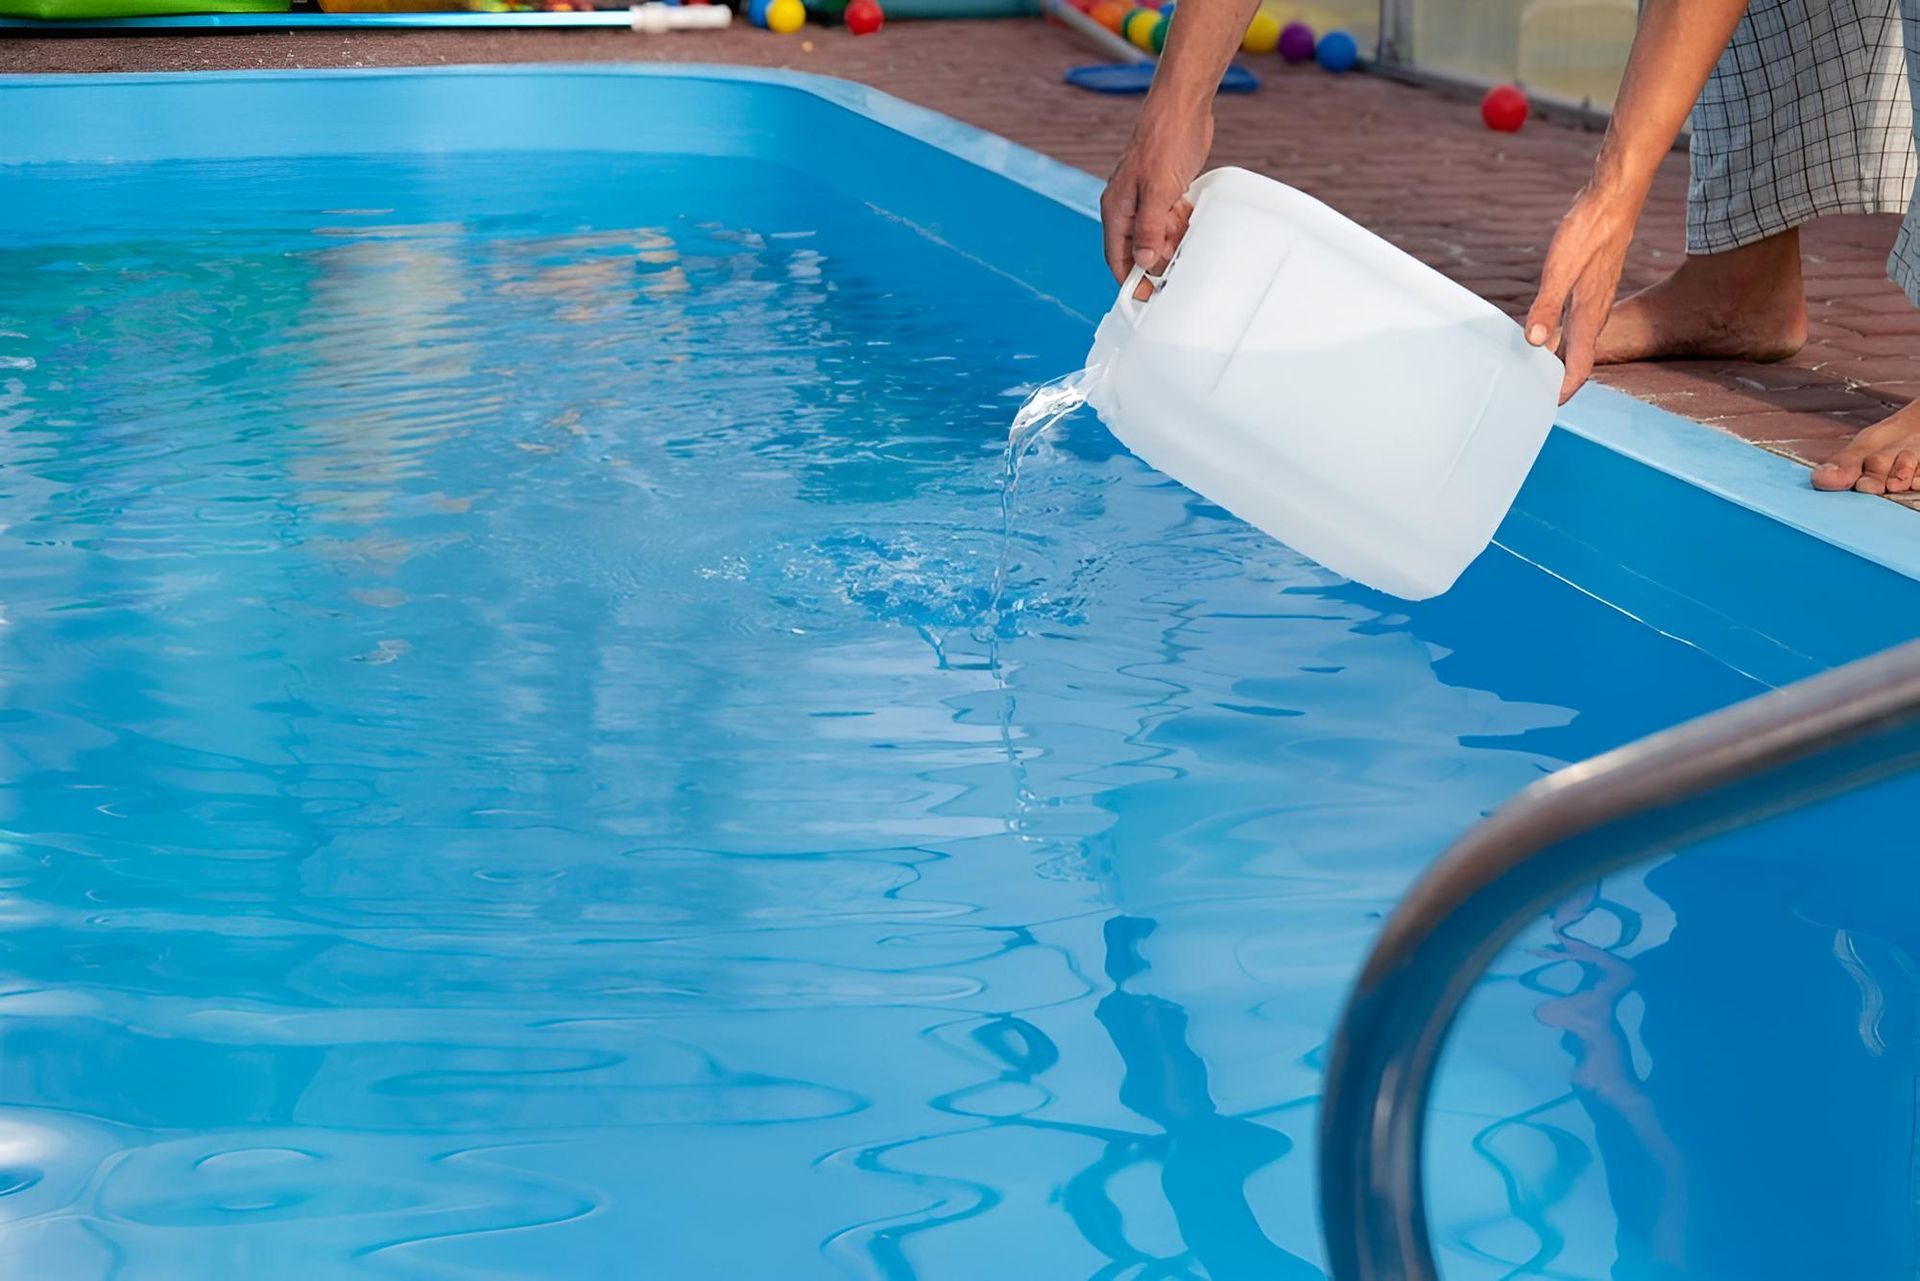
When your pool is full, we’ll organise a time to get everything going. This will include cleaning the filters, starting the pumps and getting the chemicals balanced. Finally, we go through all aspects of maintenance, safety and everything you need to know to have fun in your fab new concrete pool.
Get in touch to learn more!
To design your perfect concrete pool, just get in touch using our contact form or give us a call on 02 6686 5800.

